
Template Tools
When creating or editing a template in the DonorDock Template Editor, there are a variety of tools, content, and elements available to assist with creating the perfect template for your organization.
The canvas of your template will display on the left of the editor.
The Preview Toolbar is available in the lower left of your template for quick actions. Template Tools and Settings will be displayed on the right of the template canvas.
Preview Toolbar
Undo | The Undo arrow will reverse your last previous action/edit on the template |
|---|---|
Redo | The Redo arrow will repeat the last undone action on the template |
Preview | The Preview icon 👁️ will open a preview panel allowing you to view the template as will appear to your contact when opened |
Desktop | The Desktop icon 🖥️ is the default view of the template canvas as desktop orientation |
Mobile | The Mobile Icon 📱 allows you to view the template canvas as a mobile orientation |
Template Tools and Settings
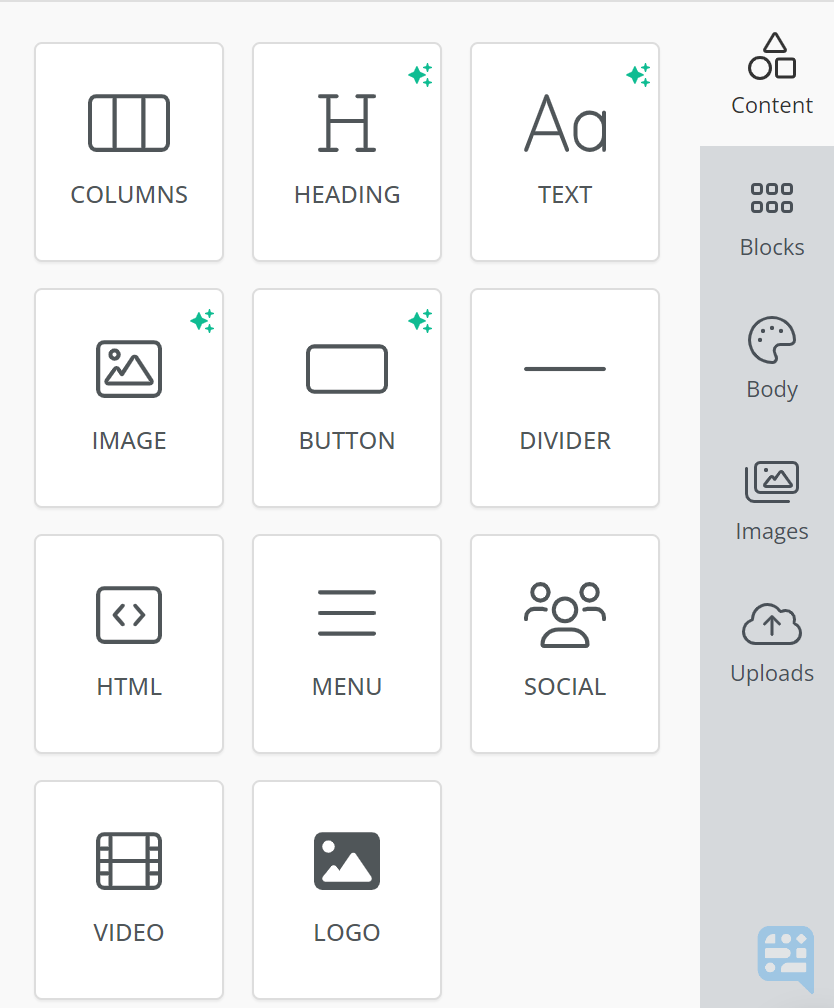
Content | Content elements allow you to click and drag different tile options onto the canvas for the type of content being inserted into the template. When looking for content elements that have smart AI functionality, look for the green stars on the content tiles |
|---|---|
Blocks | Layout blocks are available to click and drag onto your template for formatting purposes. These building blocks help you to set columns, border specific sections of the template, modify spacing, background colors, etc |
Body | Basic body settings for your Template such as setting colors, alignments, font, and link formatting |
Images | This public domain image library allows you to search for images to add to your Template. This is separate from the AI image generation options available through the Image content element |
Uploads | This Image folder holds the images (and gifs) uploaded by your organization for use on your template. Images generated by the AI tool and previously used on a template will also be available in this folder |
Content Tile Options
Button | The button element creates a button that may be set to a URL action of your choice. Digital element only |
|---|---|
Columns | The Column element allows you to click and drag columns on to the template. Column formatting will affect the entire block. Columns may also be set when setting a block directly on the template |
Divider | The divider element places a dividing line on the template to separate other elements on the template |
Heading | The header element creates a heading for a new section of your template |
HTML | The HTML element allows you to insert HTML into the template. |
Image | The Image element places an image box onto the template |
Logo | The Logo element creates a logo box that populates the logo saved in the organization settings |
Menu | The Menu element allows to create a digital menu to navigate to on the email template. Digital element only |
Social | Social Media elements may be added for icons that will link to your specific social media pages. Digital element only |
Text | The Text element creates text boxes for your message content. When typing in the text box, a text ribbon will show with formatting options for font, size, color, alignments, and merge tags |
Video | The Video element allows you to link in the URL for hosted video's into your template. When clicked, the video will open in it's own window/tab for the contact. Digital element only |
